
How to Replace Vertical Blinds: A Guide for Homeowners
Everyone deserves to live in a cozy home. One of the ways you can make your space comfortable is by ensuring that you have the right window treatments installed.
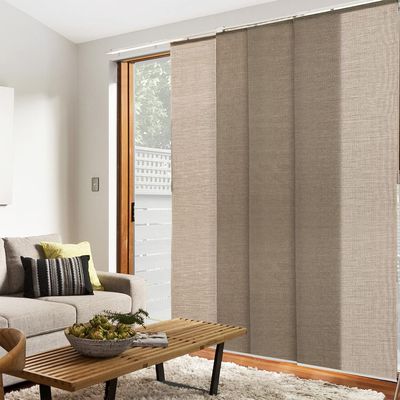
Vertical blinds are one of the most popular window coverings for shade and personality. But, if your vertical blinds are worn out, you might wonder if it’s time to replace them.
It is! To learn all about how to replace vertical blinds, keep reading.
![]()
![]()
![]()
![]()
Gather the Necessary Tools
When replacing blinds, the tools needed include a tape measure, Phillips head screwdriver, pen and paper, stepladder, safety goggles, and a vacuum. Having these tools ready and on hand before beginning will make the installation process much easier and faster.
The stepladder is also an essential tool in this process. You may need to reach high areas to remove the old blinds or install new ones. Safety goggles are recommended when using tools, especially when drilling or replacing wall anchors.
Finally, a vacuum is necessary to clean up dust or debris created during installation. With these tools, you can quickly and efficiently replace your vertical blinds.
Choose the Right Replacement Blinds
Ensure your new blinds fit your windows correctly and meet your aesthetic preferences. Homeowners must select the correct type of replacement blinds. Shop for replacement blinds, and find the right type that fits your decor and windowsill.
Finally, install the new blinds by replacing the old ones with the new ones appropriately.
Measure and Mark Your Window Frame
Start by using a tape measure to determine the exact height and width of the window. Using a pencil, mark the measurements directly onto the frame. This will allow you to purchase the exact blinds needed to fit your measurements accurately.
For multiple windows across a wall, transfer measurements to the other windows to ensure they uniformly match when hung. You should look for ones that can be mounted inside or outside the frame.
Hanging the Brackets
Hanging the brackets for vertical blinds is a key step in replacing them. Once the anchors are in place, screw the brackets securely into them. Make sure to space out the brackets to support the blinds properly. Hanging the brackets correctly is crucial for ensuring your new vertical blinds’ smooth functioning and durability.
Attach Pull Cords
Remove the old cord by pulling it out of the bottom chain and releasing it from the top. Then, cut the new cord to the same length as the old one and thread it through the bottom chain and top carrier.
Next, tie a knot at the end of the cord and insert it into the top carrier, securing it with a staple. Test the new cord by pulling it gently to open and close the blinds.
After you pull the cords, carefully slide the blinds into the track, one at a time. Once in place, check that the blinds function correctly and make any necessary adjustments.
To have this perfect window treatment, visit patriotblinds.com. They will assist you in locating the most excellent solutions at the perfect cost!
Understanding How to Replace Vertical Blinds
Replacing vertical blinds may seem intimidating, but with this guide, you can easily and quickly replace yours. Follow this fool-proof step-by-step guide on how to replace vertical blinds.
So, take the time to measure, choose the right blinds, and take your time in installation – you won’t regret it! Have fun making your home a fresher, more stylish space.
To learn more helpful tips, be sure to follow us!


You might also like...
-
Plantation Shutters: How to Use Bold Colours in Your Home Without Overwhelming the Space

Bold colours can bring energy, vibrancy, and personality to your home, transforming any room into a lively, inviting space. However, their intensity can ...
-
Outdoor Living with Ultra Aluminium & Glass: Seamless Transitions for South African Summers

In South Africa, outdoor living isn’t just a trend—it’s a way of life. From sunny braais to evening gatherings under the stars, the outdoors is ...
-
IKON Aluminium™ Windows & Doors: Why Quality Matters More Than Ever

The Illusion of “Cost Savings” At first glance, choosing cheaper windows and doors might seem like a smart financial decision. Architects, developers, and homeowners often ...
-
Olivespace

Curtains do more than just provide privacy – it’s a key design element that can transform a room. As such, the tape style you ...


Visit SA Decor & Design on social media


